New year, new Bolt Action army for Rex. A quick look at my new (slightly used) army that I got in the post a couple of days ago.
What are your new years wargame army aspirations? Let us know in the comments.
New year, new Bolt Action army for Rex. A quick look at my new (slightly used) army that I got in the post a couple of days ago.
What are your new years wargame army aspirations? Let us know in the comments.
This is where I keep all my fully painted minis... :-)
Seriously though this is my new [used] display cabinet.
Apart from the false start with another one that didn't fit and the glass door breakage carnage, and the removal of noticeboards from the wall carnage which required a fill and full wall repaint and apart from all the masking and respraying of the slightly chipped black bits, it was an easy job. Only lights and top and bottom boards to be replaced, and new doors.
All that aside I'm looking forward to getting some minis out of boxes and putting them on display after 5 plus years of... 'negotiation' for the space. Its also bigger than it looks 600mm wide and 2100 high, industrial strength for lots of lead.
I have found an interesting bit of software for modifying 3D files. Its both powerful and intuitive for your average wargamer who really just wants to get the job done so he/she can get back to rolling dice.
SelfCAD (https://www.selfcad.com/) is a Freemium product that you can use to edit your 3D print files make changes, damage things, erase parts, join things together, split things, add pins etc. There is one caveat however, and that that is the Freemium product doesn't do all of the things mentioned above, you have to get the paid version, either on a monthly subscription or a one time purchase.
In the past I have used tinker-cad (https://www.tinkercad.com/) which is great especially for creating things from scratch but as soon as there is texture in the STL files they are too big to be edited in tinker-cad.
Consider the following 3D building, it looks good and prints 'ok' (not well but OK). Once its printed removing from the print bed becomes a major problem. Because the portico has no floor the leverage when removing each of the print bed contact points the leverage on the areas marked with arrows means that its going to snap 95 times out of 100.
The following modified model has had a section of floor duplicated from the centrer of the building, trimmed, and added to the portico joining the columns etc to the main floor therefore removing most of the leverage on the breakable parts and reinforcing the whole section. It prints better as well.
Final note, this is a wargaming blog not a 3D printing blog, if you would rather see less of this content (or more?) let us know in the comments below.
I have been accused before of other thinking and over planning things and yes that is often true. But sometimes I even surprise myself! Someone asked for plans for the Italian foam building I made for Dan and put up on YouTube back in 2020 (here), you know, the good old days before pandemics etc.
I was half way though typing out a reply to say don't be silly no one would be that... [insert your preferred word here] :-) but then I went for a look and found this... (image bellow). To be fair I did "wing it" first then measure and document afterwards so in this instance I didn't over plan, perhaps that why it got finished.
[Newsflash, we are giving away these STLs for free. Get them here:
I needed some barricades and blockhouses for my Primosole Bridge board and I couldn't really find what I wanted so I created my own from scratch in Tinkercad and printed them out. I'm happy with the result, I printed one of each then printed the barricades as a mirror image so I could have plenty but if I need more... just press print. Concrete blockhouses and barricades printed on a FDM complete with 'Mold lines & striations as part of the manufacturing process" without any extra effort! (Well that what I'm telling myself.)
The blockhouses will fit a 60mm base.
P.S. Dan, great idea I will also print some 'risers'; so that the MMG and antitank gun teams mounted on a 60mm base will be able to be see (and be seen) through the firing slit, has to look good for those photos!
Images below:
Commandos! A gift from my brother Dan fresh off the painting table! Dan saw these on Trademe (That's New Zealand speak for ebay[ish]) and snapped them up for me as he knew I wanted to get serious with my 28mm commando force. Not only that, he painted them for me as well! I have a cunning plan on how to base them, should be unique if I can get it right.
I love them and can't wait to get them in the post. only problem is that the commandos I have already are my first painted army, I have improved since then and I'm not sure they will stack up against these so the old ones are up for a touch-up (at least).
I bet you wish you had a brother that would paint minis for you!
FYI they are Wargames foundry.
Sometimes when 3D printing you get an under extruded print. That's where not enough plastic comes out and the model isn't fully bonded together or is 'squeezy' to the touch. This happened to me due to a blockage, and thinking that this was a good opportunity to take advantage of an 'easy' to cut up model I thought I would make this into a ruin. Armed with Dremel with mini circular saw for cutting I hacked into this one. An hour later covered in plastic and with plastic in my eye (even though I was wearing protective goggles and mask) I vow never to do that again. That plastic is hard, hard, HARD!
The result is passable, or will be once I glue things back together and fill some places.
Moving forward, however, does anyone have some suggestions of easy to use software to erase parts of the building STL and smooth/close the shell back up. I tried Meshmixer but that was a pain, I don't want to have to spend a day learning how to use it if possible.
Podcast EP22: Campaign book Kickstarter - INCOMING.
Although other podcasts have done (and will do!!) a fantastic job of asking us the hard questions about the new The Battle for Primosole Bridge Campaign book (the Kickstarter is just days away now). Dan and I thought we had better say something ourselves on the subject :-).
Come with us as we discuss the book, the reason why we did it in the first place and a deep dive into the content.
Listen here https://pca.st/vdibfi9e in the web player (or click on the image below). Or search for us and subscribe to Valhallagames in your podcast app.Dan shares his latest completed Italians; X Arditi sahariana patrol vehicles, and a weapons team, Sicilian campaign Durham Light Infantry and some more completed British paratroopers and German Fallschirmjager.
So here's the first squad (plus) of a new army. In this case; men of the Durham Light Infantry in Sicily '1943.
It has to be said though, that they will have a dual purpose as representing New Zealanders in summer dress in the Italian mainland campaign.
The figures are Warlord games plastics; British and Canadian infantry 43-45. But i have kitbashed parts from their 8th army box set, mainly the weapon arms in shirtsleeves. After doing so, the sword bayonets needed to be exchanged for 'pig sticker' bayonets to be correct.
There are also some other parts from various Warlord Games' kits in there...can you spot them?!? Answers on a stamped, self-addressed envelope...;)
Now...where are those British airborne I need to finish...? (there's always British airborne to be finished!!)
Stay safe and keep your brushes moving. Regards, Dan.Dan's been busy buying, building, painting and more buying. Proving that you can never be bored or run out of things to do when you have miniature wargaming as your hobby! This is Dan's latest hobby update for August '21. Hope this inspires you.
Hairspray chipping - first attempt work in progress. Pretty happy so far, progress update to follow plus a bit of a how-to guide if someone would like it. Let me know if you do want something?
I'm building a French town square for my French village for 28mm Bolt action. So far I have a blank space with a nice cobbled base courtesy of a texture roller from OTP terrain. Its a good first step I have also 3D printed some tables and chairs and a fountain as a start of the scatter terrain. Looking forward to painting.
Dans Back! And he shows us what he's been up to. Featuring Warlord Games' Battlefield Debris set, Luftwaffe Field Div and more finished stuff..(Incl. British Airborne of course!). Plus he shows off some loot he received from May '40 Miniatures Fallshirmjager kickstarter. Thanks for watching!
New issues with scale. Lets say "a guy" already has scale phobia. Then "that guy" buys a 3D printer and has unlimited flexibility on how big he print things. Imagine how that will mess with "that guys" head... lucky I'm not like "that guy".
However, for this project at least, looks OK?
Its time for an update on everything that I got done over the Christmas break. Hopefully this motivates you to do more wargame hobby. There are a few tips and tricks here where I reveal my secret methods of doing things.
Let us know in the comments what you think and if you learned anything new or were motivated to start a new project.
In the latest episode of "what the heck has Rex bought now?!", a box came in the mail today that looks a bit like this. (Or should I say a whole new new hobby came in the mail!!)
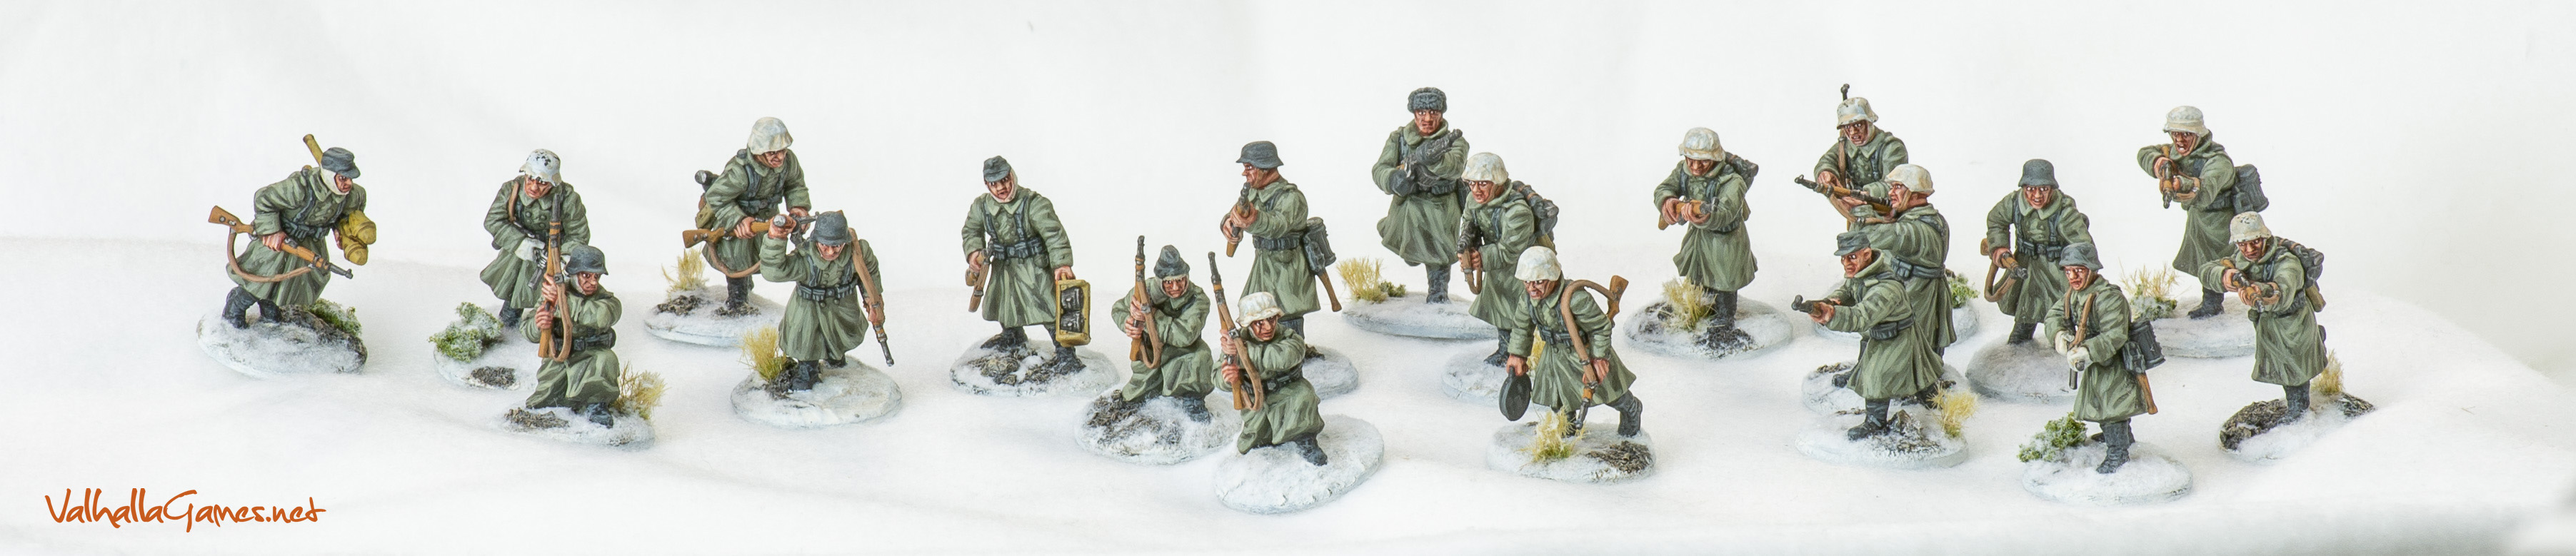
Finlay finished the first half of my winter German's. I really love these models from Warlord Games they are dynamic and characterful. I will add some more photos soon but honesty I couldn't wait to share this. Not only is this the best army I have ever painted it could be the best mini photo I have ever taken. That coalesces perfectly with our recent podcast on miniature photography here. If anyone is interested I will put up the paint recipe soon, subscribe to the blog or comment on this post to be notified.
Click on the image below to open the *huge* full sized image and then click or pinch to zoom in on that image to see the detail.
Hope this inspires you to paint and hobby more.
Having completed an entire podcast on clear-coat (here), I thought I would take Dan's advice an purchase a can of Tamiya TS-80 flat clear-coat. I gave it a try and it went well, having taken that medication (or placebo) I felt all better and have been enjoying the TS-80 flat and "not-so-much-colour-knockback" effect. Recently though I painted up 3 of the exact same mini and I thought it would be worth while doing a more objective test. Below are three soviet squad leaders looking out across the broken cityscape for danger in the form of enemy in grey. Click on the image for the supersized version. The minis are clear-coated as follows: